audio engineering
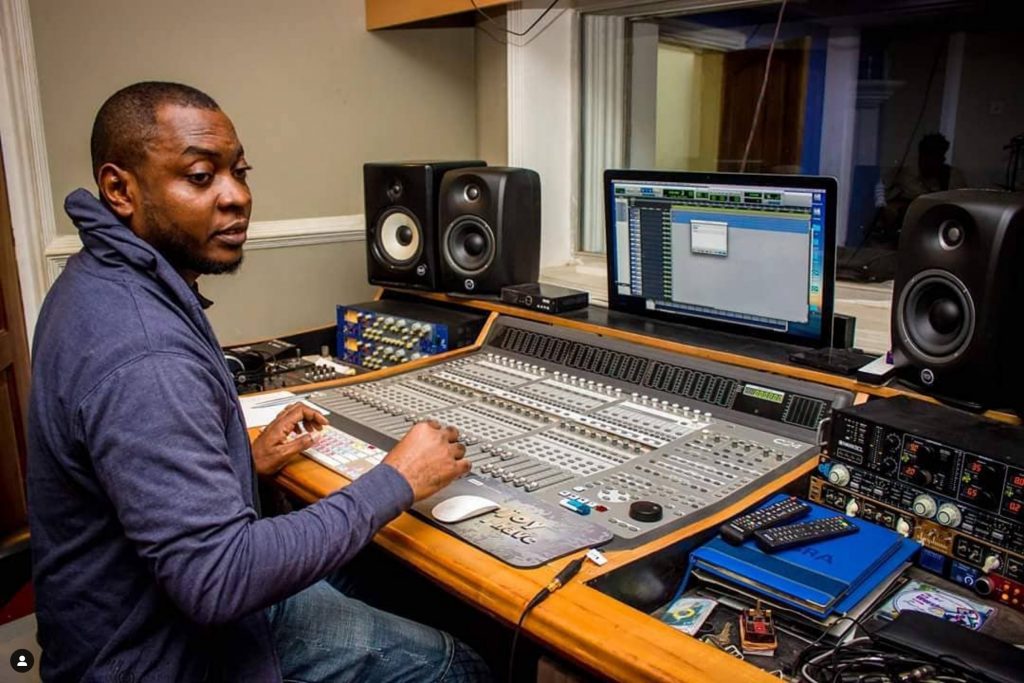
Audio engineering is the process of capturing, recording, and manipulating audio content for a variety of applications, such as music production, film and video post-production, live sound reinforcement, and video game development. It involves using a wide range of technical and creative skills to achieve desired results, including setting up microphones and recording equipment, adjusting levels and equalization, applying effects, and editing and mixing audio tracks.
Audio engineers may work in recording studios, television and film studios, live music venues, or other locations where audio is recorded or broadcast. They may also work on location, setting up and operating audio equipment for events such as concerts, sports games, and conferences.
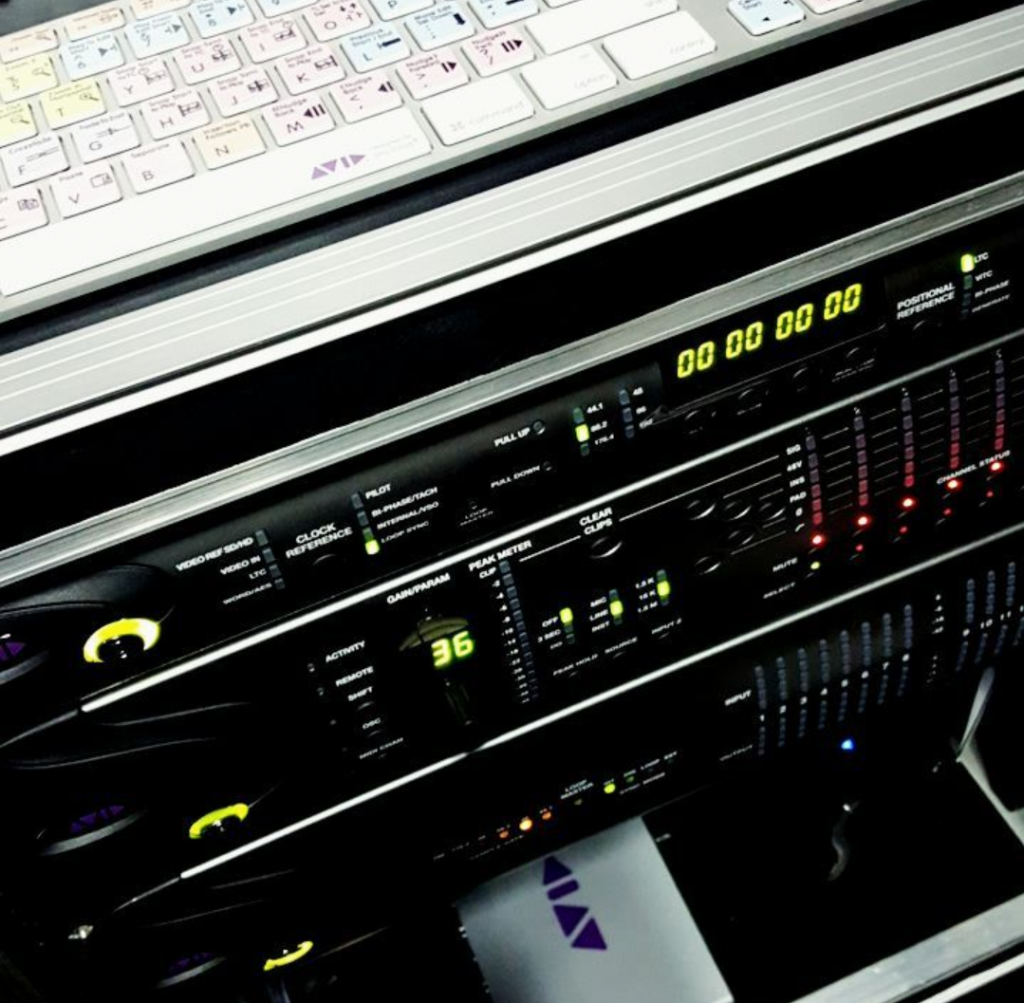
The role of an audio engineer often involves a combination of technical and creative skills, as well as a strong understanding of acoustics and audio principles. Audio engineers may work with a variety of audio software and hardware, such as digital audio workstations (DAWs), mixing consoles, and outboard gear. They may also be responsible for maintaining and repairing audio equipment, as well as staying up-to-date on the latest audio technologies and techniques.
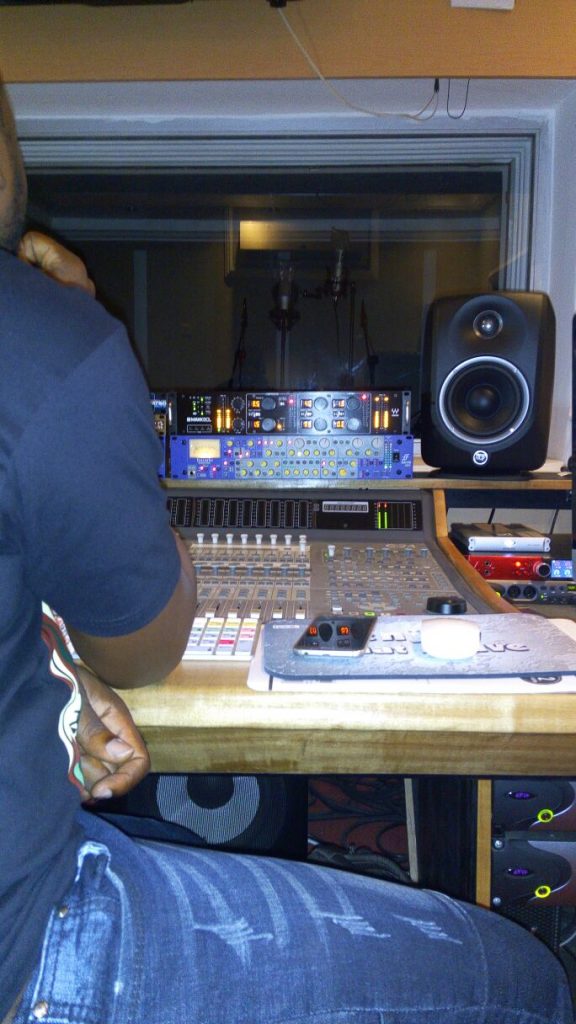
recording a drum set in the recording studio
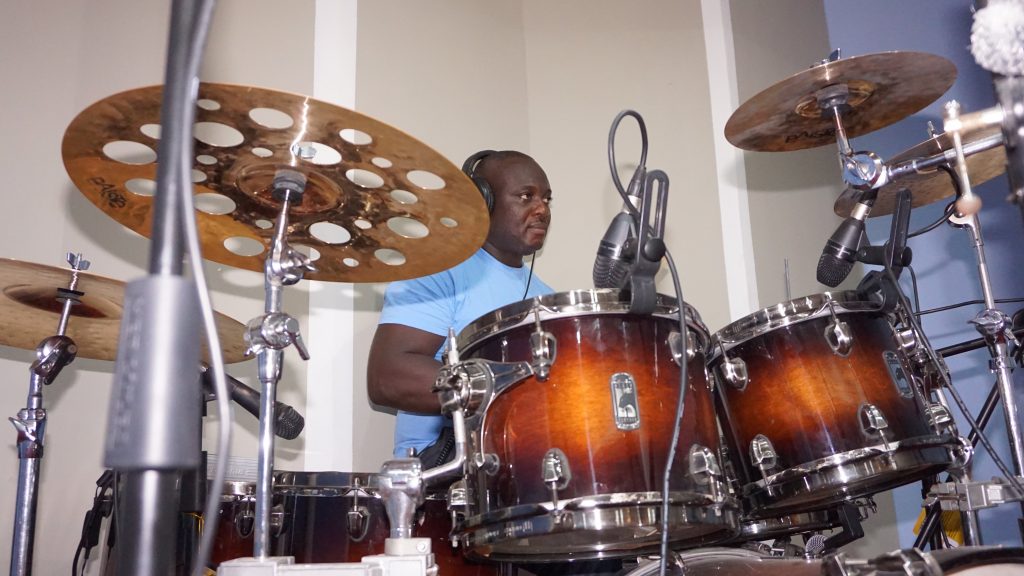
Recording a drum set in the recording studio can be a challenging but rewarding process. With the right tools, techniques, and preparation, you can capture high-quality drum sounds that will enhance your music production. Here are some tips and best practices for recording a drum set in the studio:
Choose the right drum set and microphones: The type of drum set and microphones you use can greatly affect the sound of your recording. Choose a drum set with a good tone and quality construction, and consider using different types of microphones for different drum elements. For example, you might use a dynamic microphone for the kick drum and a condenser microphone for the snare drum. Experiment with different microphone placements and angles to find the best sound.
Set up the drum set in a quiet, acoustically treated room: A room with good acoustics will help to minimize reflections and improve the overall sound of your recording. Consider using sound-absorbing materials, such as foam panels or bass traps, to reduce room reflections. It’s also important to choose a location that is as quiet as possible, as external noise can ruin a drum recording.
Tune the drum set: Properly tuned drums will sound better and be easier to mix. Spend some time tuning each drum to your desired pitch and tone, and experiment with different drumhead and drumstick combinations to find the best sound.
Set up the microphones and recording equipment: Once you have chosen your microphones and drum set, it’s time to set up the recording equipment. This might include a digital audio workstation (DAW), mixing console, and outboard gear such as compressors and EQs. Make sure to properly position the microphones and set the levels on the mixing console to avoid clipping and ensure a clean recording.
Record multiple takes: It’s a good idea to record multiple takes of each drum element, as this will give you more options when it comes to editing and mixing. Make sure to allow enough time between takes to adjust the drum set, microphones, and recording equipment as needed.
Edit and mix the drum tracks: Once you have recorded the drum tracks, it’s time to edit and mix them to achieve the desired sound. This might involve cutting and splicing audio, applying effects, and adjusting levels and EQ. Take your time and listen to the drum tracks carefully to make sure they sound good in the mix.
By following these tips, you should be able to record a drum set in the studio that sounds great and enhances your music production. With a little bit of practice and experimentation, you’ll be able to capture high-quality drum sounds that bring your music to life.
microphone polar patterns
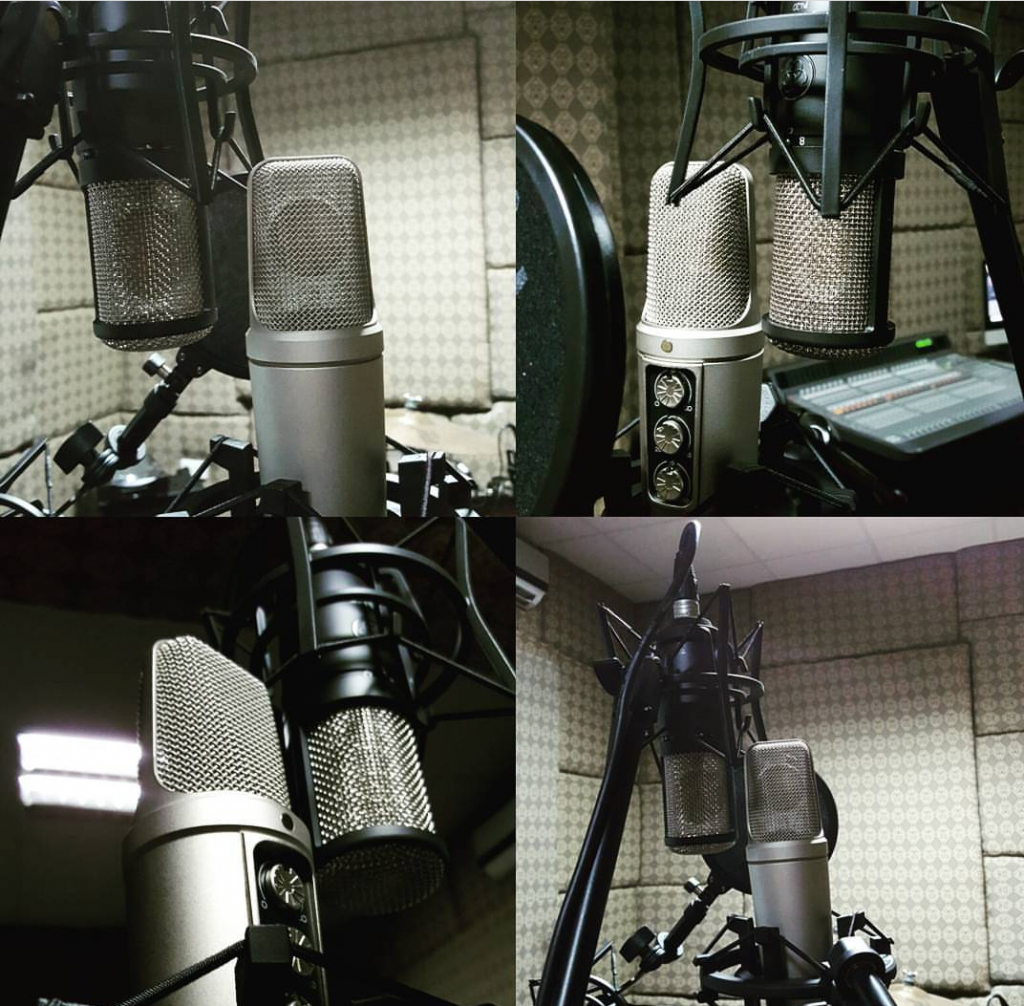
Microphone polar patterns describe the way in which a microphone responds to sound waves coming from different directions. There are several different types of polar patterns, including:
Omnidirectional: Omnidirectional microphones pick up sound equally from all directions. They are often used for recording ambient sound or for capturing a group of people speaking at once.
Cardioid: Cardioid microphones are highly sensitive to sound coming from directly in front of them, but less sensitive to sound coming from the sides and rear. They are often used for vocals or instrument recording, as they can reject background noise and reduce feedback in live sound situations.
Hypercardioid: Hypercardioid microphones are even more directional than cardioid microphones, with a narrower pickup pattern. They are often used in situations where a very directional microphone is required, such as for isolating a specific sound source in a noisy environment.
Figure-eight: Figure-eight microphones have a directional pickup pattern that is sensitive to sound coming from the front and rear of the microphone, but not from the sides. They are often used for recording interviews or for capturing the sound of a musical instrument being played from both sides.
Shotgun: Shotgun microphones have a highly directional pickup pattern that is sensitive to sound coming from a specific direction. They are often used for film and television production, as they can capture clear audio from a distance without picking up a lot of background noise.
mastering a song in 2023
Mastering is the process of taking a mixed song and preparing it for distribution, whether that be on a streaming service, radio, or as a physical recording. The goal of mastering is to optimize the overall sound of the song and ensure that it is consistent with the intended artistic vision and meets the technical standards of the intended medium of distribution.
Here is a general outline of the steps involved in mastering a song:
Load the mixed song into a digital audio workstation (DAW) or a specialized mastering software.
Listen to the song and make any necessary adjustments to the EQ (equalization) to balance the frequencies and improve the overall tonal balance of the mix. This might include boosting or cutting specific frequencies to create a more cohesive sound.
Use dynamics processing tools such as compressors, limiters, and expanders to control the dynamic range of the song and make it more consistent. This might involve reducing the dynamic range of the song to make it more radio-friendly or increasing the dynamic range to give the song more impact and presence.
Use stereo enhancement tools to widen the stereo image of the mix, if desired. This can be accomplished through techniques such as mid-side processing or stereo imaging plug-ins.
Check the song’s loudness and ensure that it meets the loudness standards of the intended medium of distribution. This might involve using a limiter to increase the overall loudness of the song or adjusting the song’s loudness to match the loudness of other tracks on an album.
Check the song for any technical issues such as clipping, phase issues, or other problems that could affect the quality of the final master.
Export the mastered version of the song as a high-quality audio file, such as a WAV or AIFF file, for distribution.
It’s important to note that mastering is a subtle art and the specific techniques used will depend on the mix, the intended medium of distribution, and the preferences of the mastering engineer. It’s also worth noting that mastering is just one part of the overall process of creating a finished song. Mixing, which comes before mastering, is also a critical step in shaping the sound of a song and ensuring that all of the individual tracks work together in a cohesive way.
the difference between peak, rms and lufs
Peak, RMS, and LUFS are all measurements of audio level.
Peak level refers to the highest level of an audio signal at a given moment in time. It is a measure of the maximum amplitude of the signal, and it is typically expressed in decibels (dB).
RMS, or root mean square, level is a measure of the average level of an audio signal over a given period of time. It is often used as a more accurate representation of the perceived loudness of an audio signal, as it takes into account the varying amplitudes of the signal. RMS level is also expressed in decibels (dB).
LUFS, or loudness units relative to full scale, is a measure of the perceived loudness of an audio signal. It is based on the RMS level of the signal and takes into account the way the human ear perceives different frequencies. LUFS is used in audio production and broadcasting to ensure that audio levels are consistent across different sources and to prevent clipping or distortion.
In summary, peak level measures the maximum amplitude of an audio signal, RMS level measures the average level of the signal, and LUFS measures the perceived loudness of the signal.